3. EC2 인스턴스 추가
무료로 사용할수 있는 freetier 서버를 추가하겠습니다.
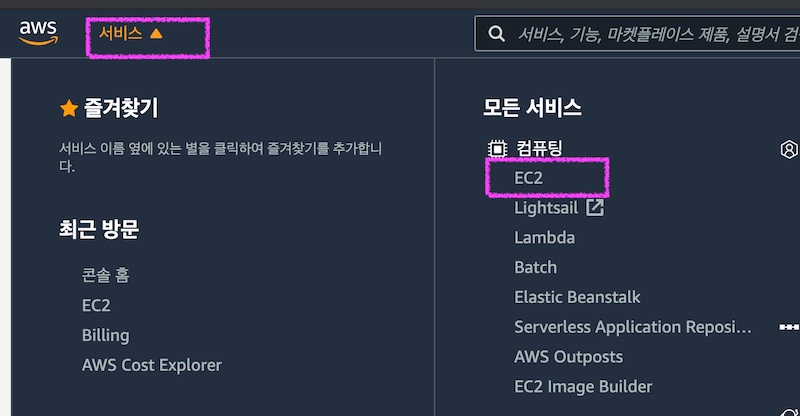
Free Tier 서버를 구축을 위해 가입하신 정보로 로그인한후 aws console 버튼을 클릭하신후 서비스 > 모든 서비스 > 컴퓨팅 > EC2 서버를 선택합니다.
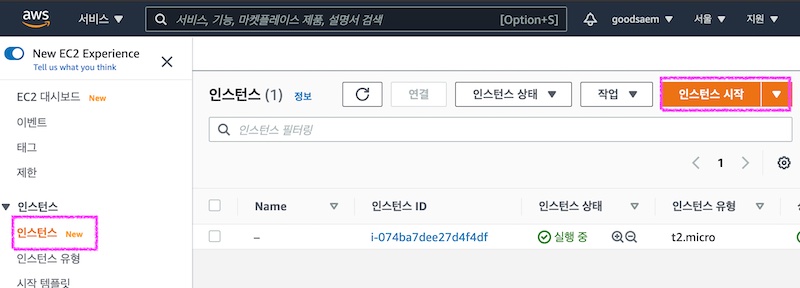
EC2 좌측메뉴중 인스턴스를 클릭하고 다시 인스턴스 시작 버튼을 클릭합니다.
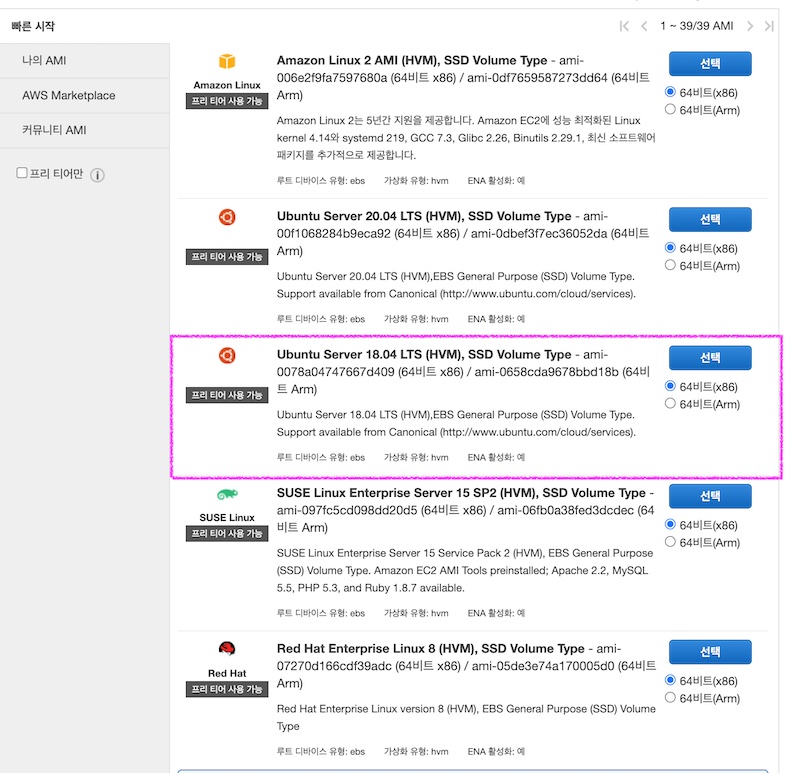
프리티어 사용 가능이라고 된 서버가 무료 서버입니다. Ubuntu Server 18.04 LTS(HVM) SSD Volumn type을 선택 합니다.
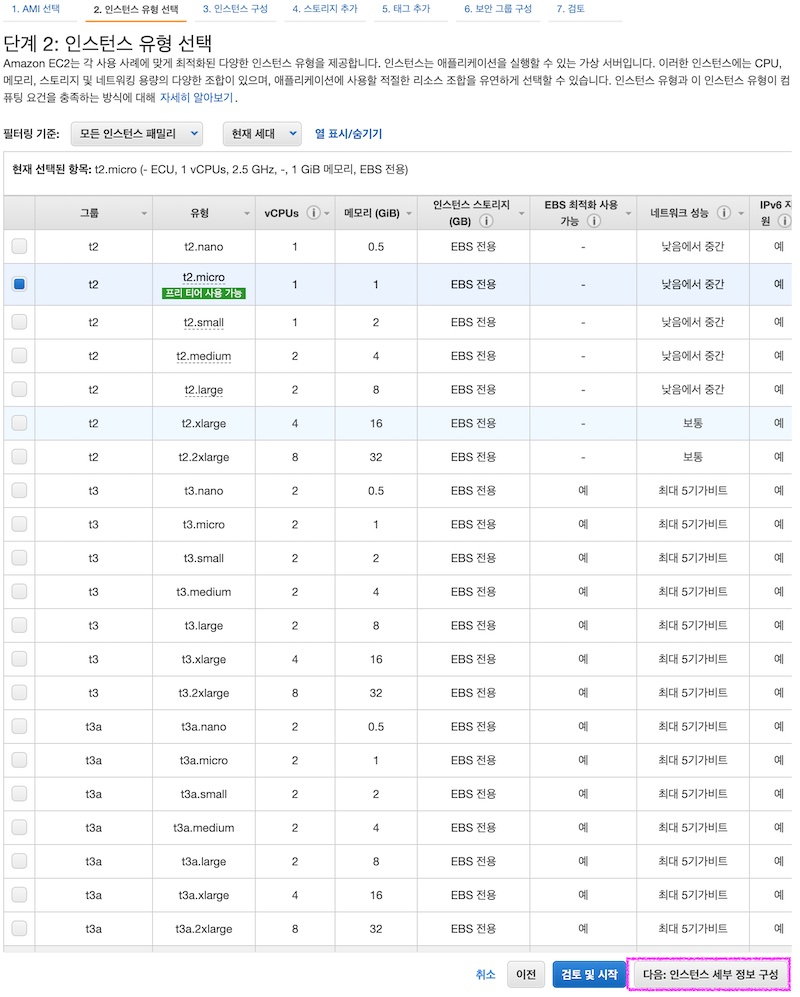
다음 : 인스턴스 세부정보 구성 버튼을 클릭합니다.
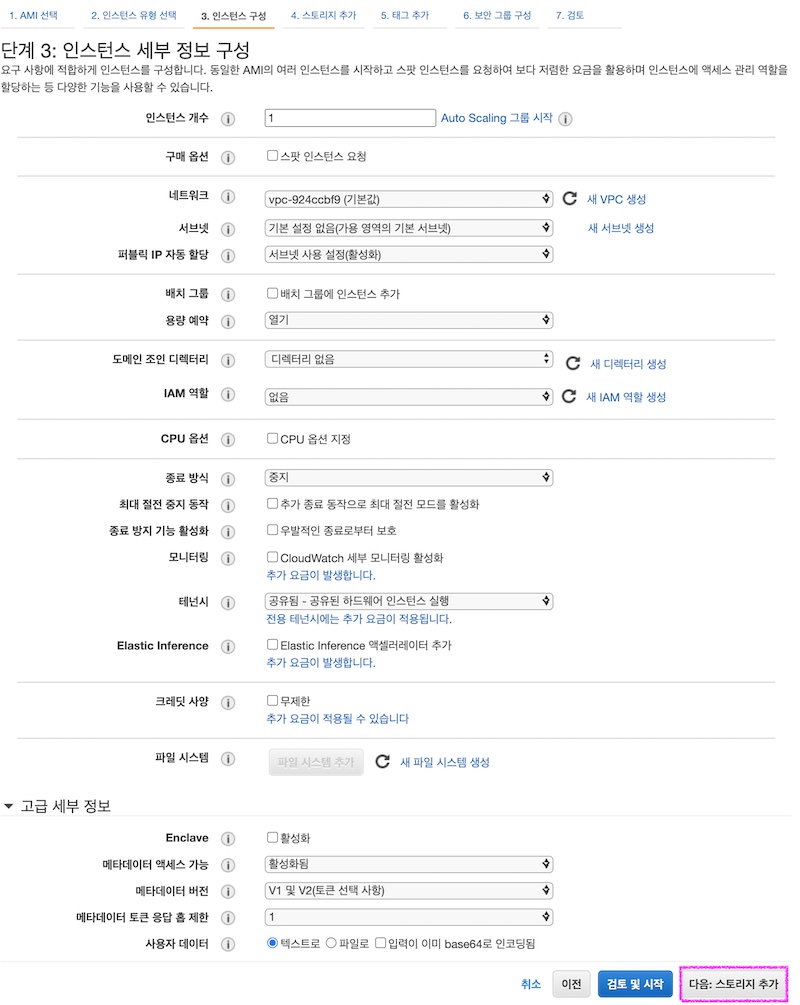
변경없이 다음 : 스토리지 추가를 클릭합니다.
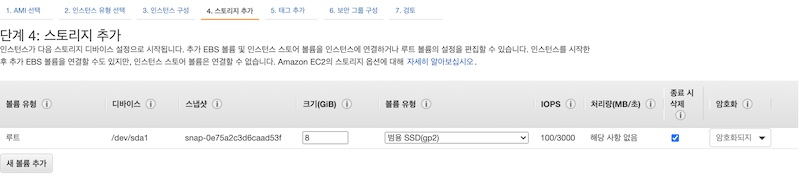
기본값 8 이라고 입력하고 다음 : 태그 추가 버튼을 클릭합니다.
::: tip 무료는 30G 가능
30G 까지 가능하지만 해당 크기만큼 사용하지 않을 계획 이므로 8G 로 설정을 진행합니다.
:::
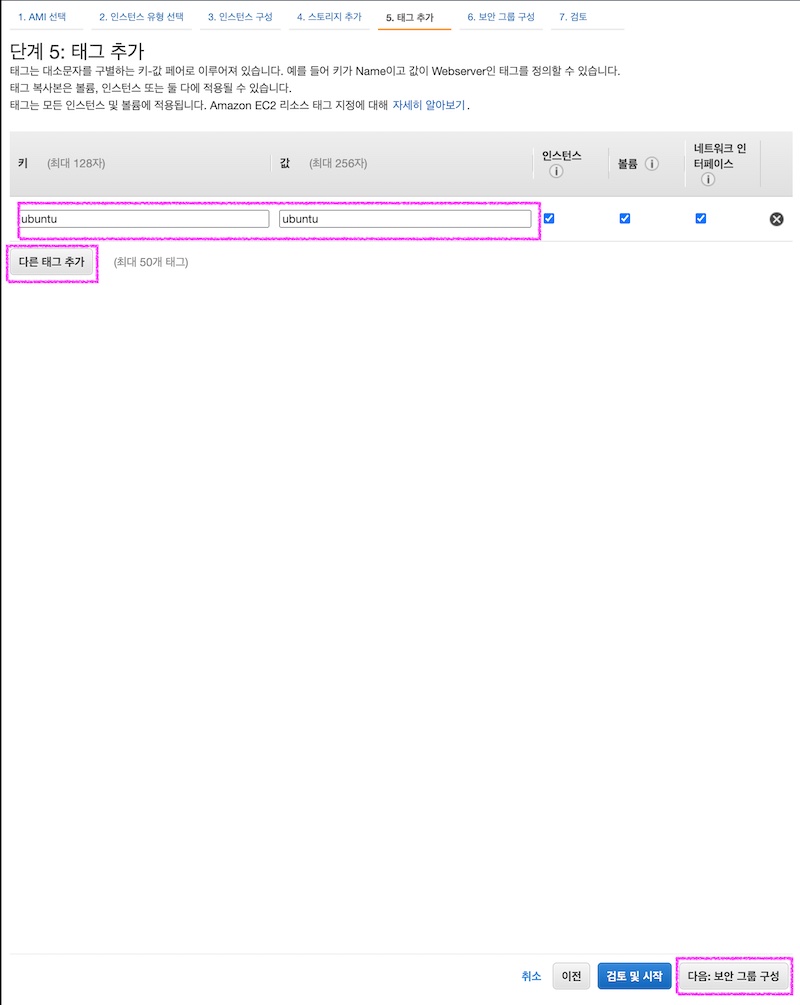
태그 추가 버튼을 클릭하여 키와 값에 식별할수 있는 이름을 입력합니다. 그리고 나서 다음 : 보안 그룹 구성 버튼을 클릭합니다.
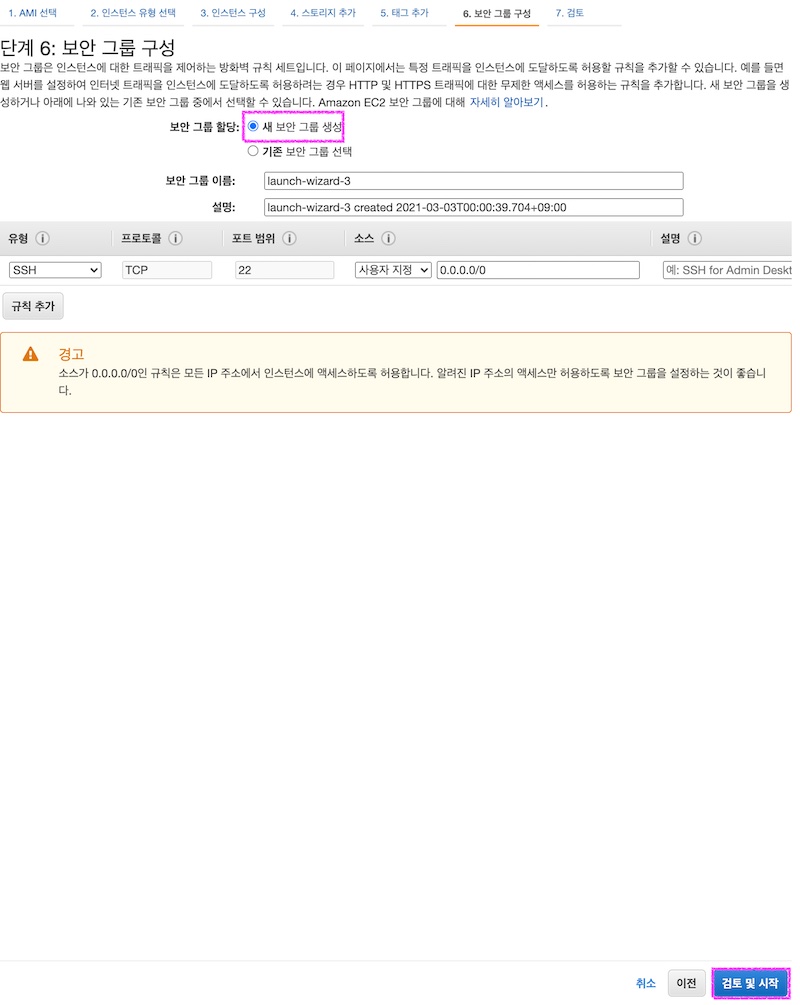
새 보안 그룹 생성을 선택하고 검토 및 시작 버튼을 클릭합니다.
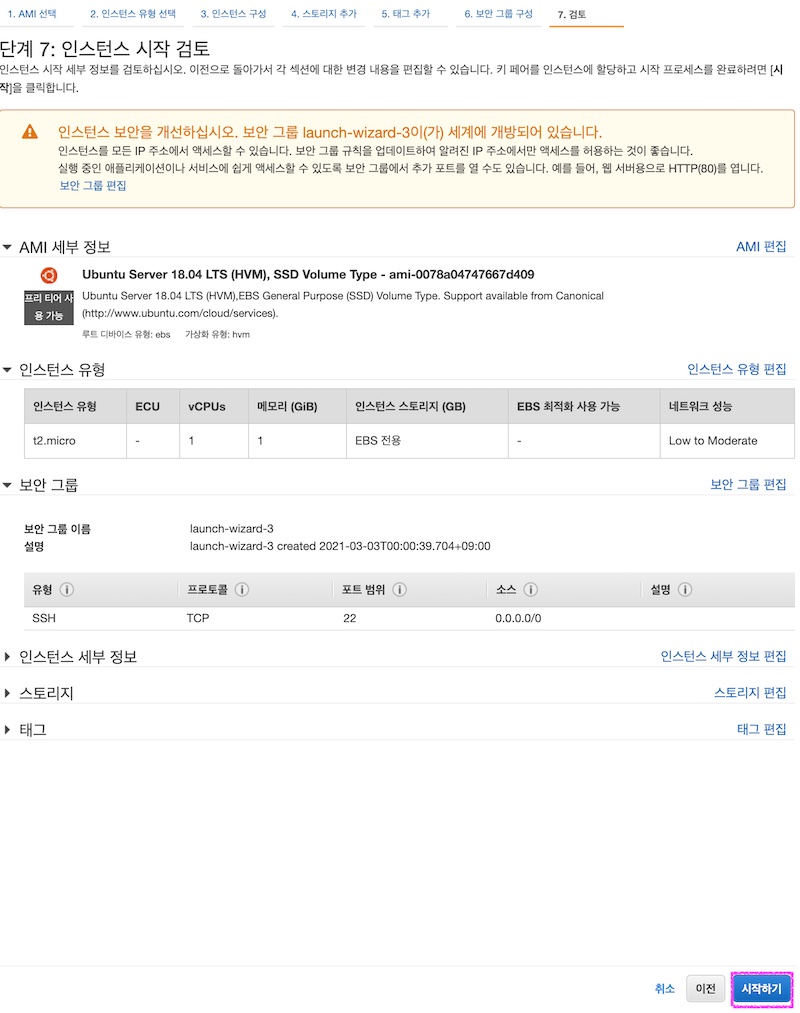
인스턴스 시작 검토 화면에서 선택한 내용들을 확인합니다. 그리고 나서 시작 하기 버튼을 클릭합니다.
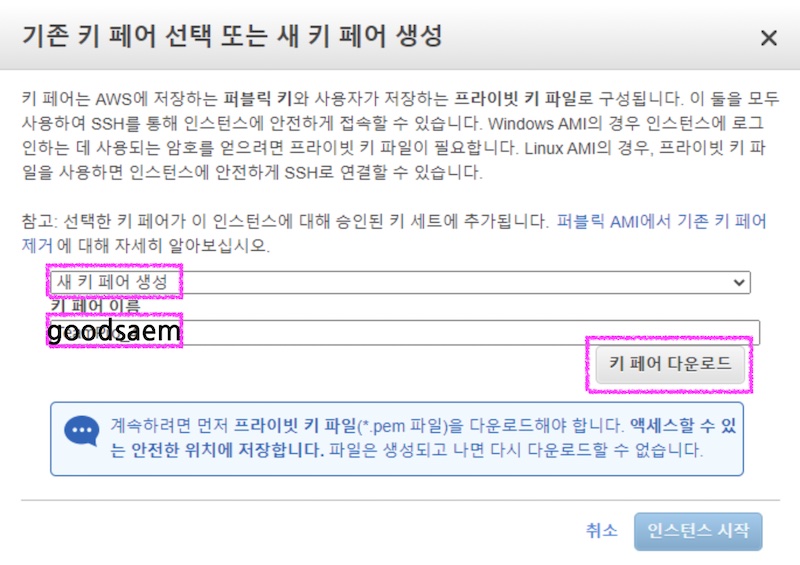
이렇게 시작하고 나면 키페이 생성 화면이 팝업이 되는데 새 키 페어 생성을 선택하고 키페어 이름을 입력하고 키 페이 다운로드 버튼을 클릭하여 로컬 pc에 저장합니다.
그리고 나서 인서턴스 시작 버튼을 클릭합니다. 여기까지 완료하셨으면 프리티어 서버가 정상 생성되었습니다.