MAC + PHP + RESTAPI 환경설정

PHP RestApi 환경 셋업

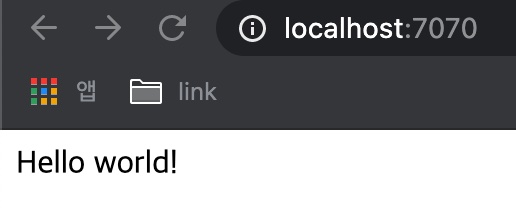
백엔드 서비스가 필요한데 spring boot 로 구현하면 시간이 걸릴것 같아 php 로 정말 간단한 restful api 구현할려고 합니다.
mac 에 개발환경을 구축하고 사이트에 올려서 정상적으로 서비스 되는부분 까지 정리해 보겠습니다.

1. 설치순서

아래와 같은 순서 되로 설치 진행하겠습니다.

  1. php 설치 (7.4 version)
    :::tip php 7.4
    글을 쓰는 시점에 8.x php 가 있어 이를 설치 했지만 slim framework 설치시 문제가 발생한 관계로 8.x 를 삭제하고
    7.4 버전 으로 다운 그레이드 해서 다시 설치 했습니다. slim framework 을 이용 하실려는 분들은 참고 하시기 바랍니다.
    :::
  2. composer 설치
  3. slim 설치
  4. apache 설치
  5. apache 설정

2. php 설치

@7.4 버전을 명시 하여 7.4 버전 으로 설치해 주세요.

1
brew install php@7.4

3. composer 설치

composer 는 의존성 관리 도구 입니다. 자바의 maven 이나 gradle npm 같은 거라고 보시면 되겠 네요
이것도 설치 간단 합니다. 아래 명령어 입력 하면 끝..

1
brew install composer

4. slim framework 설치

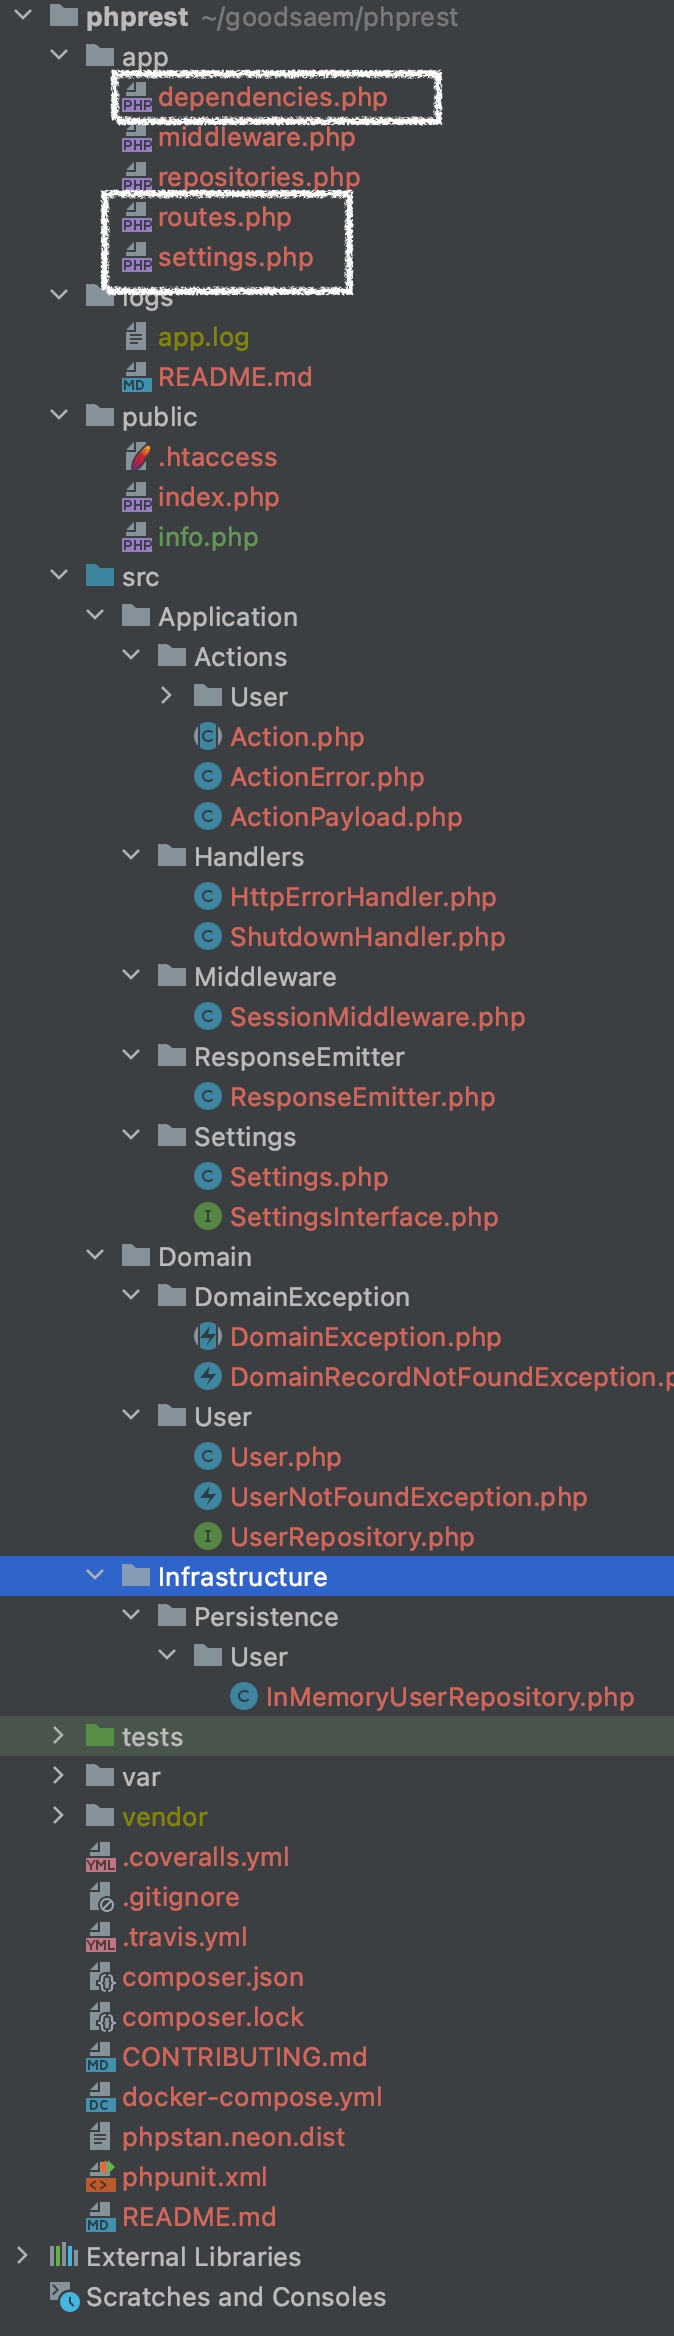
아래 명령어 는 phprest 디렉토리 에 slim framework 를 설치하겠다는 의미 입니다. 명령어 입력하고
기다리면 디렉토를 알아서 만들고 필요한 파일도 모두 다운로드 받습니다. 참쉽네요.

1
composer create-project slim/slim-skeleton phprest

5. apache 설치

이번에도 역시 한줄만 입력하시면 됩니다.

1
brew install httpd

6. apache 설정

apache 환경 설정을 진행 하겠습니다. brew로 설치 하셨다면 /usr/local/etc/httpd/httpd.conf 파일이 존재합니다.
이파일을 수정하겠습니다.

1
vi /usr/local/etc/httpd/httpd.conf

서비스 수신 포트를 변경해 주세요. 바꾸시지 않으셔도 상관없습니다. 전 기존에 사용하던 포트랑 충돌을 피하기 위해 포트를 7070 포트로 변경했습니다.

1
Listen 7070

mod_rewrite.so 모듈과 libphp7.so 모듈을 활성화 해줍니다. 만약 php 버전이 저와 다르다면 아래 디렉토리 경로를 맞춰 주셔야 합니다.

1
2
LoadModule rewrite_module lib/httpd/modules/mod_rewrite.so
LoadModule php7_module /usr/local/opt/php@7.4/lib/httpd/modules/libphp7.so

아파치 서비스 를 시작/중지할 유저와 그룹을 지정해 주세요

1
2
User goodsaem
Group admin

위에 까지 일반적인 설정이였다면 이부분이 중요 합니다. 위에서 slim 프레임워크를 phprest 란 디렉토리에 설치를 했습니다. 이디렉토리 아래에
public 이란 디렉토리가 생성되었을 거에요 public 디렉토를 DocumentRoot로 잡아주세요 그리고 directory부분도 경로를 맞춰 주세요.

1
2
3
4
5
6
7
8
9
10
11
12
13
14
15
16
17
18
19
20
21
22
23
24
25
26
27
28
DocumentRoot "/Users/goodsaem/goodsaem/phprest/public"
<Directory "/Users/goodsaem/goodsaem/phprest/public">
#
# Possible values for the Options directive are "None", "All",
# or any combination of:
# Indexes Includes FollowSymLinks SymLinksifOwnerMatch ExecCGI MultiViews
#
# Note that "MultiViews" must be named *explicitly* --- "Options All"
# doesn't give it to you.
#
# The Options directive is both complicated and important. Please see
# http://httpd.apache.org/docs/2.4/mod/core.html#options
# for more information.
#
Options Indexes FollowSymLinks

#
# AllowOverride controls what directives may be placed in .htaccess files.
# It can be "All", "None", or any combination of the keywords:
# AllowOverride FileInfo AuthConfig Limit
#
AllowOverride All

#
# Controls who can get stuff from this server.
#
Require all granted
</Directory>

index.php 가 디렉토리의 인덱스가 되도록 아래와 같이 설정하고 확장자가 php이면 php 로 인식할 수 있도록 아래와 같이 설정 합니다.

1
2
3
4
5
6
7
8
<IfModule dir_module>
DirectoryIndex index.php index.html
</IfModule>

<FilesMatch \.php$>
SetHandler application/x-httpd-php
</FilesMatch>

설정이 끝났다면 apache 서비스를 시작합니다.

1
brew services start  httpd

웹브라우저를 통해 확인 합니다. http://localhost:7070/
Hello world! 가 보인다면 설치 완료 입니다.

7 디렉토리 구조

여기 까지 문제 없이 진행 하셨 다면 프로젝트 디렉토리 구조는 아래와 같습니다.

박스 친 부분을 수정 하겠습니다.

settings.php 파일을 수정합니다. 아래 색상 강조한 부분을 각자 환경에 맞게 수정해주세요
db 연결 끝.

1
2
3
4
5
6
7
8
9
10
11
12
13
14
15
16
17
18
19
20
21
22
23
24
25
26
27
28
29
30
31
32
33
34
35
36
37
38
39
40
41
42
43
<?php
declare(strict_types=1);

use App\Application\Settings\Settings;
use App\Application\Settings\SettingsInterface;
use DI\ContainerBuilder;
use Monolog\Logger;

return function (ContainerBuilder $containerBuilder) {

// Global Settings Object
$containerBuilder->addDefinitions([
SettingsInterface::class => function () {
return new Settings([
'displayErrorDetails' => true, // Should be set to false in production
'logger' => [
'name' => 'slim-app',
'path' => isset($_ENV['docker']) ? 'php://stdout' : __DIR__ . '/../logs/app.log',
'level' => Logger::DEBUG,
],
"db" => [
'driver' => 'mysql',
'host' => 'localhost',
'username' => 'xxxxx',
'database' => 'xxxxx',
'password' => 'xxxxx',
'charset' => 'utf8mb4',
'collation' => 'utf8mb4_unicode_ci',
'flags' => [
// Turn off persistent connections
PDO::ATTR_PERSISTENT => false,
// Enable exceptions
PDO::ATTR_ERRMODE => PDO::ERRMODE_EXCEPTION,
// Emulate prepared statements
PDO::ATTR_EMULATE_PREPARES => true,
// Set default fetch mode to array
PDO::ATTR_DEFAULT_FETCH_MODE => PDO::FETCH_ASSOC
],
],
]);
}
]);
};

dependencies.php 파일을 입력한 db 정보로 연결 합니다.

1
2
3
4
5
6
7
8
9
10
11
12
13
14
15
16
17
18
19
20
21
22
23
24
25
26
27
28
29
30
31
32
33
34
35
36
37
38
39
40
41
42
43
44
45
<?php
declare(strict_types=1);

use App\Application\Settings\SettingsInterface;
use DI\ContainerBuilder;
use Monolog\Handler\StreamHandler;
use Monolog\Logger;
use Monolog\Processor\UidProcessor;
use Psr\Container\ContainerInterface;
use Psr\Log\LoggerInterface;

return function (ContainerBuilder $containerBuilder) {
$containerBuilder->addDefinitions([
LoggerInterface::class => function (ContainerInterface $c) {
$settings = $c->get(SettingsInterface::class);

$loggerSettings = $settings->get('logger');
$logger = new Logger($loggerSettings['name']);

$processor = new UidProcessor();
$logger->pushProcessor($processor);

$handler = new StreamHandler($loggerSettings['path'], $loggerSettings['level']);
$logger->pushHandler($handler);

return $logger;
},

PDO::class => function (ContainerInterface $c) {

$settings = $c->get(SettingsInterface::class);

$dbSettings = $settings->get('db');

$host = $dbSettings['host'];
$dbname = $dbSettings['database'];
$username = $dbSettings['username'];
$password = $dbSettings['password'];
$charset = $dbSettings['charset'];
$flags = $dbSettings['flags'];
$dsn = "mysql:host=$host;dbname=$dbname;charset=$charset";
return new PDO($dsn, $username, $password);
},
]);
};

우선 tasks 란 테이블을 생성 해 주세요..

1
2
3
4
5
6
7
8
9
10
CREATE TABLE IF NOT EXISTS tasks (
task_id INT AUTO_INCREMENT PRIMARY KEY,
title VARCHAR(255) NOT NULL,
start_date DATE,
due_date DATE,
status TINYINT NOT NULL,
priority TINYINT NOT NULL,
description TEXT,
created_at TIMESTAMP DEFAULT CURRENT_TIMESTAMP
)

post 방식으로 tasks를 호출하면 db에 값을 입력하는 rest api 입니다.
get 방식의 takks는 값을 불러와서 json 형태로 리턴하는 api 입니다.

1
2
3
4
5
6
7
8
9
10
11
12
13
14
15
16
17
18
19
20
21
22
23
24
25
26
27
28
29
30
31
32
33
34
35
36
37
38
39
40
41
42
43
44
45
46
47
48
49
50
51
52
53
54
55
56
57
58
59
60
61
62
63
64
65
66
67
68
<?php
declare(strict_types=1);

use App\Application\Actions\User\ListUsersAction;
use App\Application\Actions\User\ViewUserAction;
use Psr\Http\Message\ResponseInterface as Response;
use Psr\Http\Message\ServerRequestInterface as Request;
use Slim\App;
use Slim\Interfaces\RouteCollectorProxyInterface as Group;

return function (App $app) {
$app->options('/{routes:.*}', function (Request $request, Response $response) {
// CORS Pre-Flight OPTIONS Request Handler
return $response;
});

$app->get('/', function (Request $request, Response $response) {
$response->getBody()->write('Hello world!');
return $response;
});

$app->group('/users', function (Group $group) {
$group->get('', ListUsersAction::class);
$group->get('/{id}', ViewUserAction::class);
});

$app->get('/api/customers' , function(Request $request , Response $response){
$response->getBody()->write('CUSTOMERS!');
return $response;
});

$app->get('/tasks', function (Request $request, Response $response) {
$db = $this->get(PDO::class);
$sth = $db->prepare("SELECT * FROM tasks ORDER BY task_id");
$sth->execute();
$data = $sth->fetchAll(PDO::FETCH_ASSOC);
$payload = json_encode($data);
$response->getBody()->write($payload);
return $response->withHeader('Content-Type', 'application/json');
});

$app->post('/tasks', function (Request $request, Response $response) {
$db = $this->get(PDO::class);
$contents = json_decode(file_get_contents('php://input'), true);

foreach ($contents as $item) {
$sth = $db->prepare("
INSERT INTO `tasks` (
`title`, `start_date`, `due_date`,
`status`, `priority`, `description`,
`created_at`
) VALUES (
:title, CURRENT_TIMESTAMP, CURRENT_TIMESTAMP,
:status, :priority, :description,
CURRENT_TIMESTAMP
)");

$sth->bindParam(':title', $item['title']);
$sth->bindParam(':status', $item['status']);
$sth->bindParam(':priority', $item['priority']);
$sth->bindParam(':description', $item['description']);
$sth->execute();
}

$response->getBody()->write( json_encode($contents));
return $response->withHeader('Content-Type', 'application/json');
});
};

8. 테스트

Vue 로 간단하게 title 과 status , priority 를 입력 받아 저장하고 조회하는 화면을 만들어 보았습니다.

마무리

java 로 이정도 서비스 구축 할려면 꽤나 시간이 많이 걸렸을것 같은데요 역시 갓 php 입니다. 이건 조금 사용 하다가 버릴 예정이므로 인증 (oauth2) 같은
부분은 구현을 하지 않을 텐데요.. 혹시 기회가 된다면 다시 정리하겠습니다. 글 읽어주셔서 감사합니다.

공유하기